Pre-requisites
Before reading this document, please make sure that:
- You have access to the Adtag Platform
- You have installed the beacon notification tutorial and alert notification tutorial applications on your device to perform live tests
- You have a BLE beacon, configured on your account, to interact with the applications
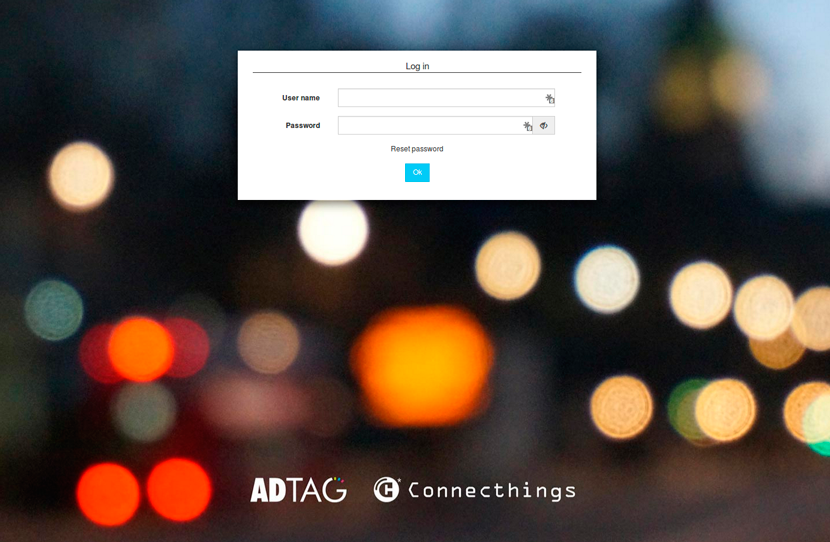
Accessing the Adtag Platform
Depending on your type of account, you should have access to one of the following Adtag environments. Click on the corresponding link to access the platform, then enter your login & password:
WARNING:
If you have access to different Adtag platforms, make sure that your app is configured to work on the same environment as the Adtag platform you are using.
Selecting a point and editing its associated content
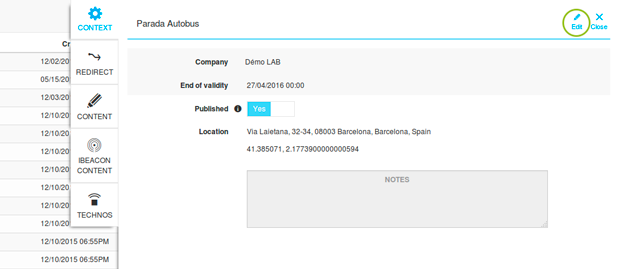
- Either in the MAP or LIST view, click on a point of your choosing
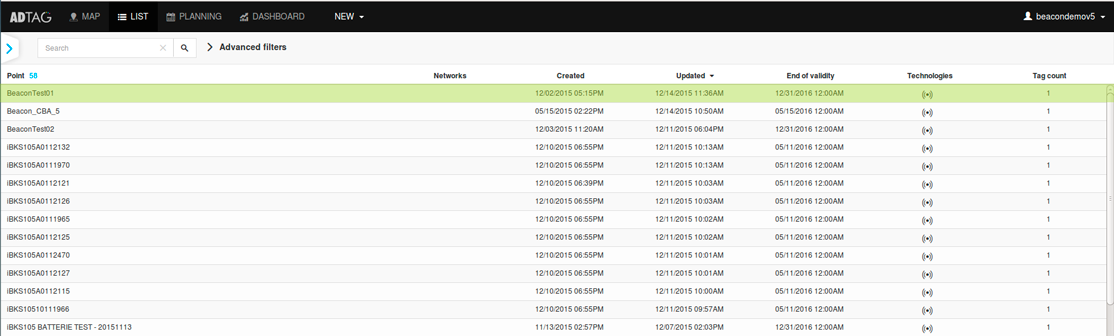
This opens a slider menu, which contains all of the characteristics of the point, grouped in tabs.
Click on Edit
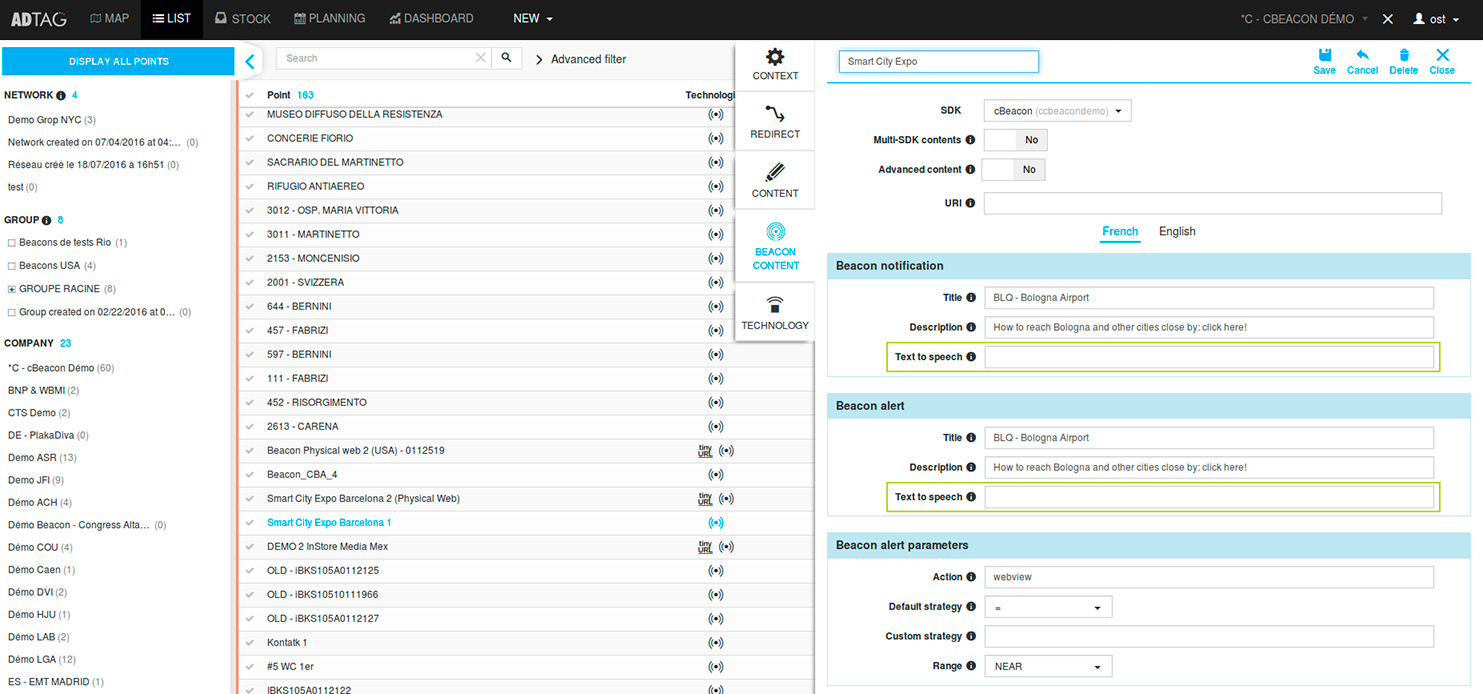
- Click on the Beacon Content tab to manage the content pushed through BLE beacons.
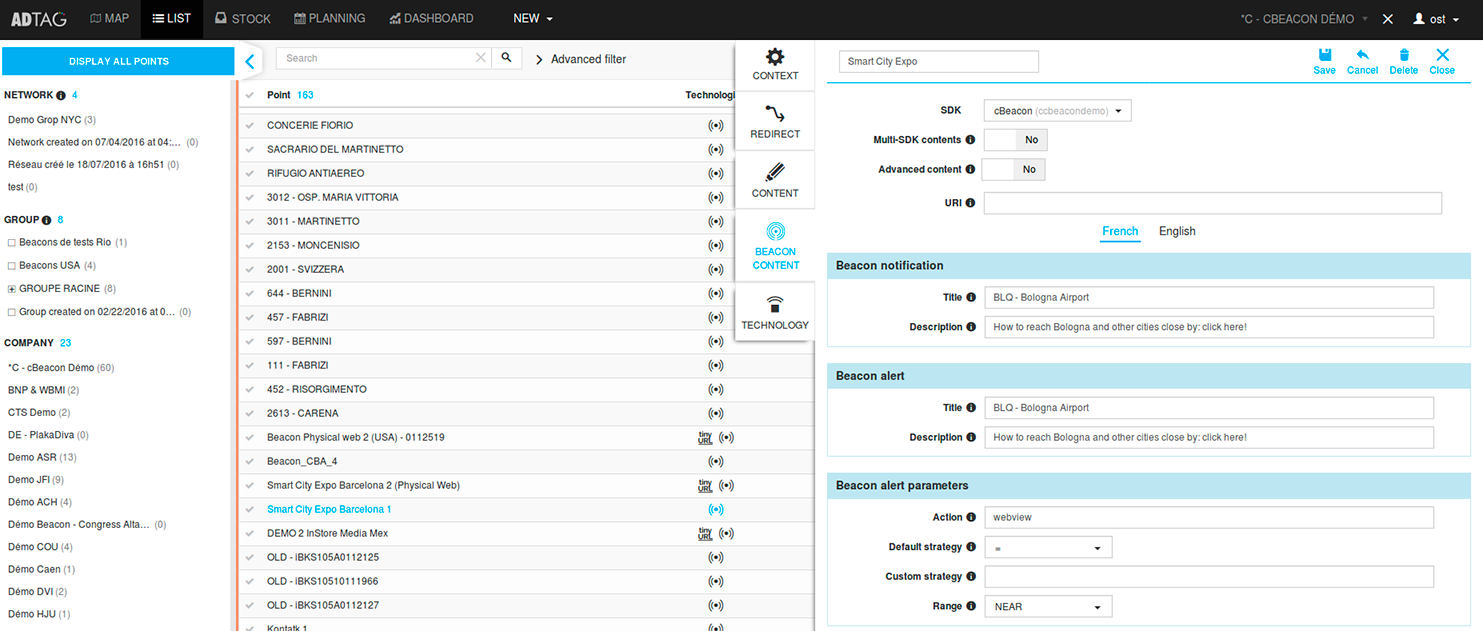
- Update the notification and alert parameters, by modifying their title and description.
- Click on Save to validate your changes
![]()
Testing the update
- Kill both tutorial applications
- Go through the testing process to check that the content of the notification and the alert have been updated
Configuring the Beacon Alert Parameters
The Beacon alert parameters category allows you to define and manage a display strategy for your alerts. In particular:
- Action: you can enter free text to match the Alert action that you have implemented at SDK level
- Default Strategy: if you have chosen to use the built-in proximity strategies, you can select the appropriate rule in the drop-down list (<=, =>, or =), which will work in conjunction with the selected Range
- Custom Strategy: if you create your own, custom alert strategy, populate this text field with the matching key that you have implemented at SDK level
- Range: proximity zone applicable to the alert (the alert will only be triggered if the smartphone is in the right range around the beacon) – 3 predefined values: IMMEDIATE, NEAR, FAR
Learn more about beacon alerts in the alert process tutorial.
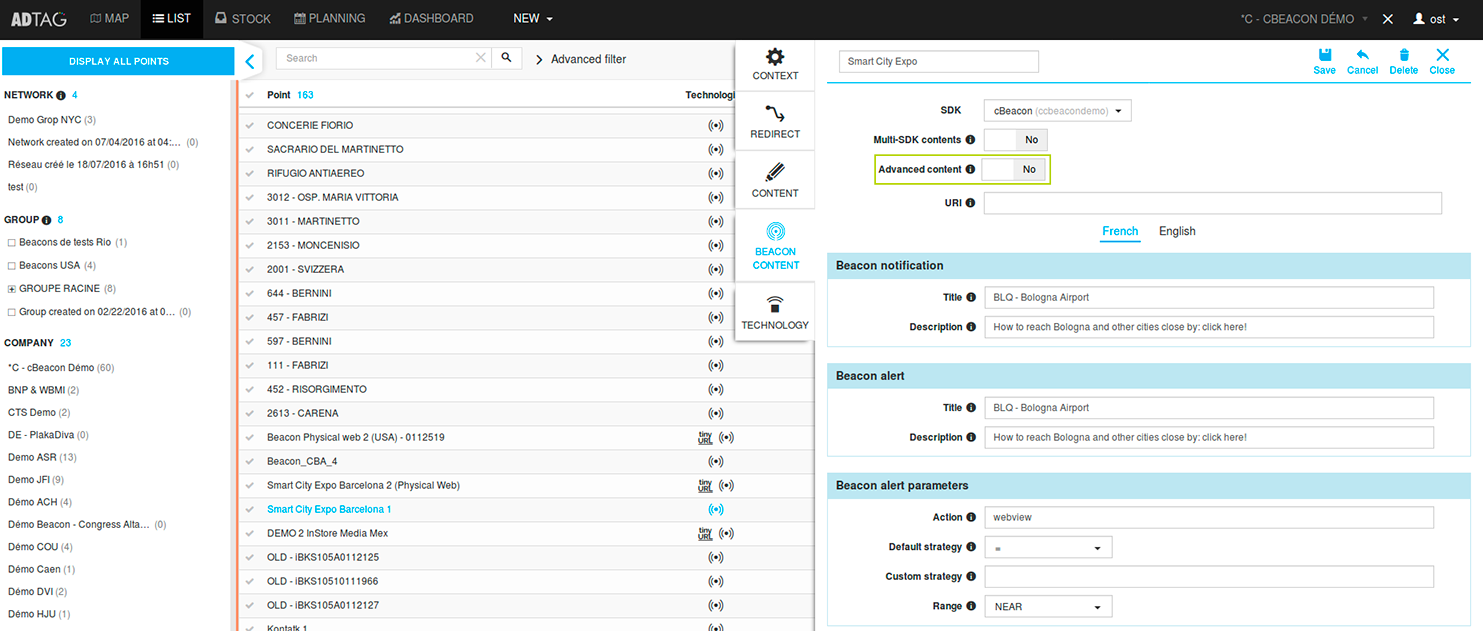
Activating the Advanced Content
The Advanced content option in Adtag allows you to associate images to your beacon notifications and alerts. To use it:
- Open a point, click on Edit, and open the Beacon Content tab
- Click on the Advanced Content switch to activate the feature
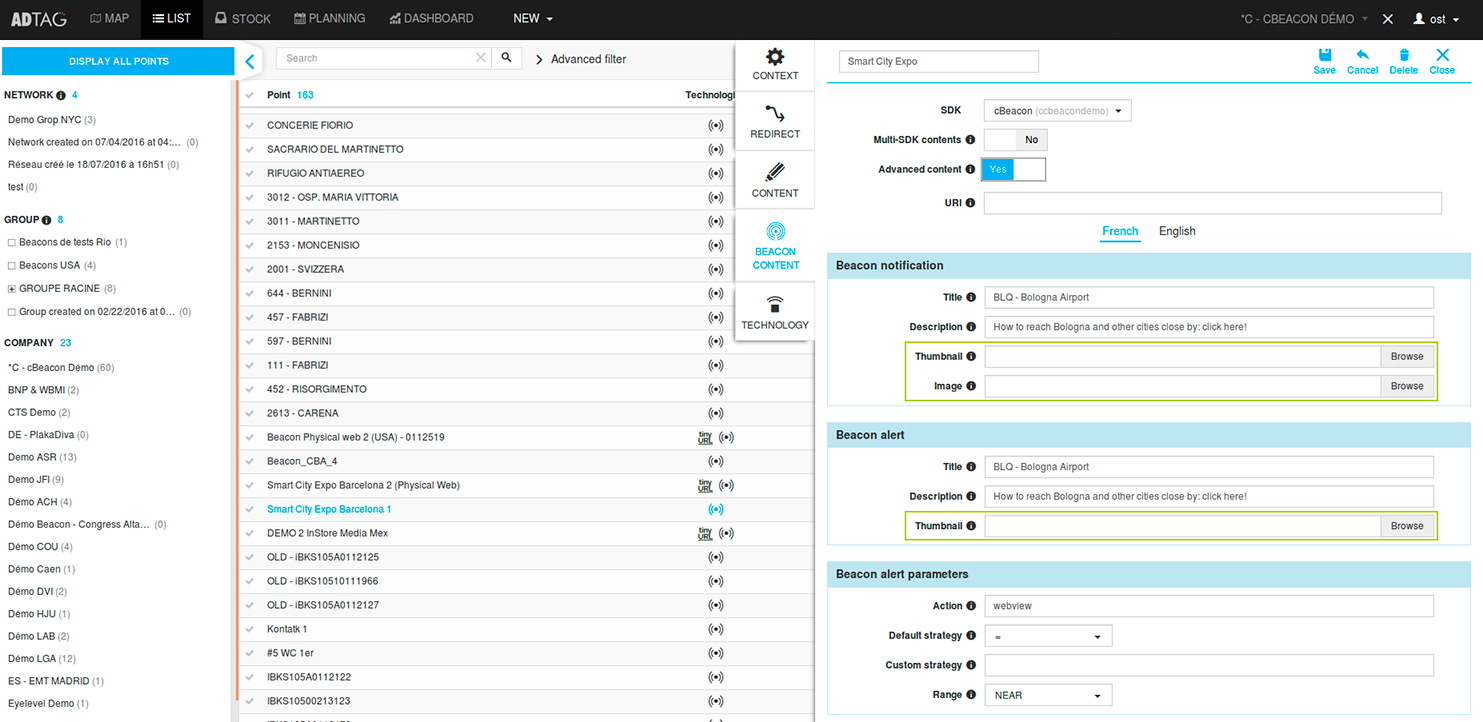
Three new fields appear:
- The notification image field
- The notification thumbnail field
- The alert thumbnail field
Activating the Accessibility option
The Accessibility option in Adtag allows you to activate Text-To-Speech for your notifications and alerts, and to define the text that will be read, if you app has activated the SDK corresponding feature (Learn more in the accessibility tutorial).
To activate it:
- Click on your user name on the right-hand corner of the page
- Select Application Management in the menu
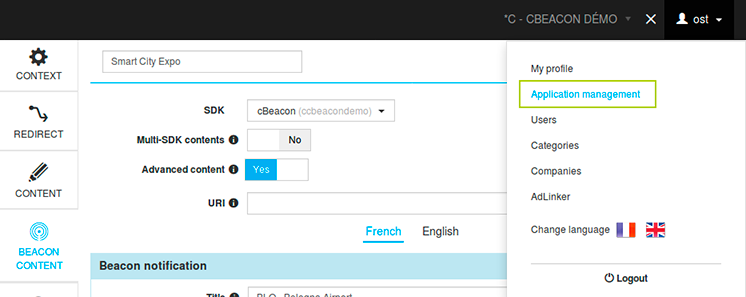
- Select on your application in the list
- Click on the Accessibility switch to activate the feature
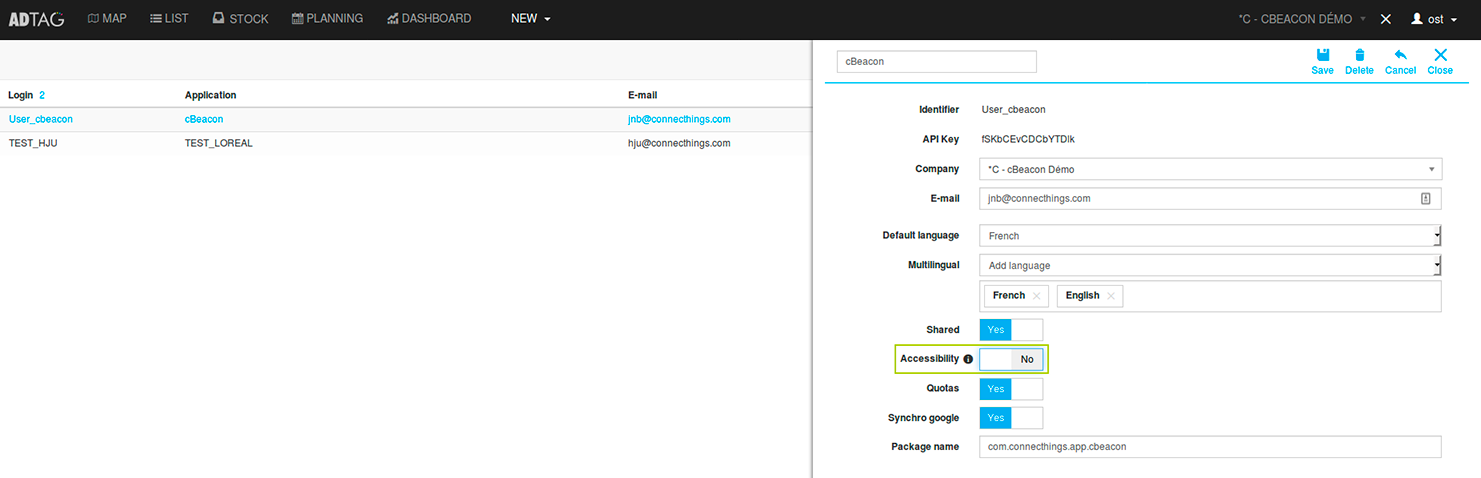
- Save the configuration
- Go back to your point and re-open the editing interface
- Click on the Beacon Content tab: two new Text-To-Speech fields are now visible
- the notification Text-To-Speech field
- the alert Text-To-Speech field